
I realized that I hadn't made any more progress posts on Sonya - especially since I finished her in November! So, sorry for the tardiness.
Since Wind Dancers have special mechanics for wing movement to satisfy the purpose of a winged animal for little girls. However, the mechanics doesn't fit in the shoulder area - the proper placement for wings. Instead, they are placed in the back. I had removed those mechanics and drilled holes in the upper shoulders for a pair of wire framed wings.

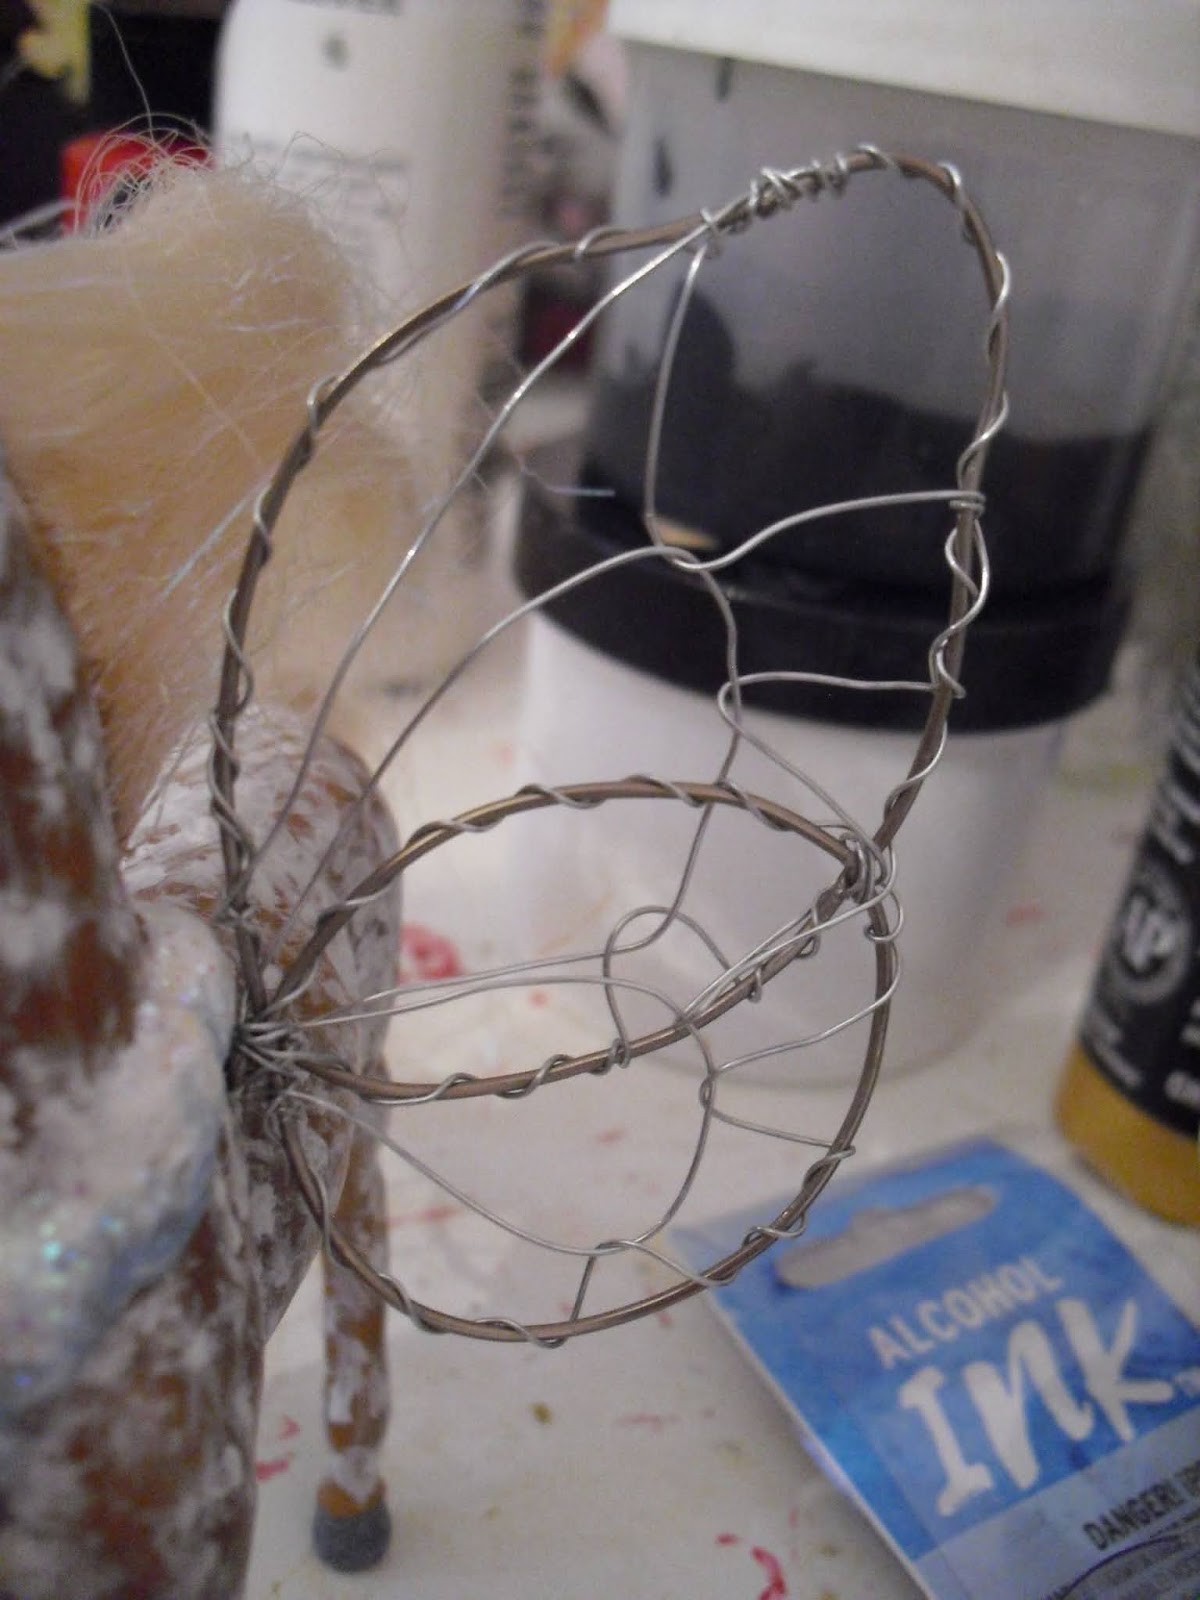
This is the first style for a wire frame I came up with. I was originally going to take teardrop shaped pieces of Tulle fabric and sandwich the wire in-between the pieces. However, due to the fact that the pieces of Tulle were a bit crumbled - it wouldn't stick to each other or the wire. Though, this process does work on a Mini Whinnie scale....just not anything bigger than that (I haven't tried this design on a Stablemate yet).

The two bottom pieces were originally designed to "hide" the hole, but I ended up cutting them off later since one set was shorter than the other. The end result looks better without them.

I got a little discouraged with the Tulle fabric idea. In turn, I searched Pinterest for alternatives. I ended up finding several ideas. One in particular was using Liquid Polymer Clay with Alcohol Inks.


Beautiful when not baked...just like with paint, once baked the colors darken, become more transparent, and the white becomes clear. That wasn't the main problem, though. The Liquid Polymer Clay has a terrible chemical aroma that WILL stink up the house!!! The other problem was that the wire piece that inserts into the horse - one of the pairs broke off and one of them (I don't remember which) the wire started to tear out of the "clay."
Time for take two!......Just not in the kitchen oven. This time with a more detailed frame that might stick to the clay better. My family suggested that I use the little convection oven out in the garage (we use it for summer, since it is roasting enough inside due to old house air conditioning methods: Fans).

I had run some tests to find the right temperature/time alterations when using a convection oven....but even with the next set - it still was too much.

I don't remember what I was going to do with this set. I had apparently dashed the idea of using these, since my little sister commented that they look like bumblebee wings (which is fine) and that Pegasus' wings aren't vertical, but horizontal to the body (that's not good).

I had eventually returned to this set with a new plan: cellophane gift wrap plus glitter! It was another idea from Pinterest, but it is definitely a keeper! You can find the directions here. I pretty much followed them exactly - with the edition of glitter. Everything is better with glitter!

One set still ended up being a little bigger than the other. Oh well, it adds to the magic.

This part requires a steady hand and perhaps good eyesight. I had trouble seeing what I was doing, because the cellophane is supposed to shrink back to encase the wire frame...but sometimes I did too much and it exposed the wire a little bit.


To add texture, I wrapped the wings with the Tulle fabric - especially around the frame.

There are three metallic colors used: light blue, silver, and a yellow gold. This brought out the colors in Sonya's "necklace" and crown. And of course! More Glitter on top!!! Only one last thing to finish - Hair!
No comments:
Post a Comment