Sunday, June 7, 2020

Transitions and Outdoor Photography

 Back in April, my family decided to go on a hike up Temple Fork, Logan Canyon for Easter. Yes, there is still snow in the mountains in northern Utah.
 We didn't see any horses, but we saw their trails.


 There are many locations in the Wasatch Mountains where beavers are flourishing. Sometimes, you get a chance to spot a one. 

 Perfect reflections
 Deer tracks
 Vole trails - yes, they make surface tunnels like what Gopher on Whinnie the Pooh did!
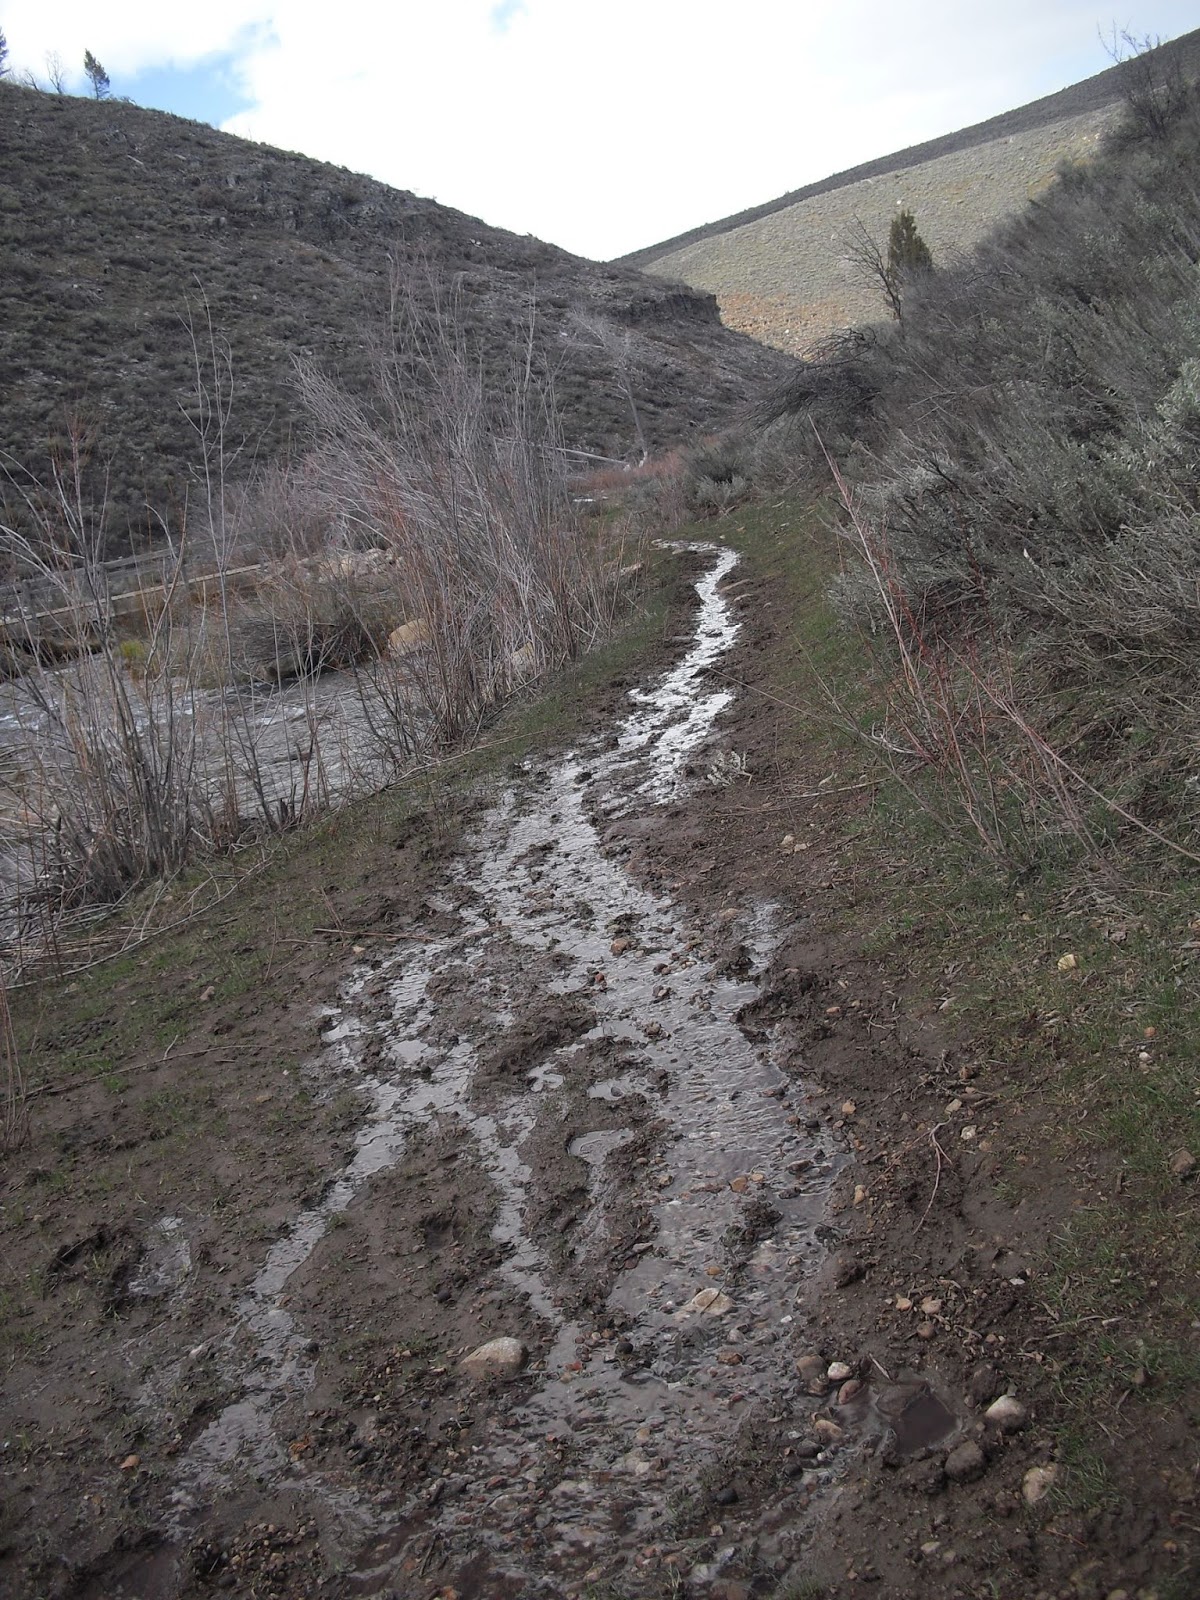
 Due to all the snowmelt, the trails were extremely muddy.
 Sometimes a river!
 But, one thing that's super annoying - is having Transition Lenses and trying to take outdoor photography. The reason why I had gotten Transitions is because I am notorious for refusing to switch out my regular glasses for sunglasses...since I literally wear my glasses 24/7. Transitions are built into the prescription and cause your lenses to get darker according the the sunlight. Never need to change to sunglasses ever again! Ye-ah, uh huh. Or so I thought. However, having a high prescription has many limitations on the color of the Transitions - they usually come in grey, brown is a rarity. Also, they actually react to UV lighting and temperature. So, in the winter they are horribly dark. But, in the summertime - when you need them the most - you are blinded by everything because it likes the COLD! Sure, they still get dark in the UV, but seriously? This isn't helping. I haven't been really bothered by this problem until I started taking more pictures of my model horses outside. Regardless of season - I can't see the camera screen. Also, when going out hiking in the cold and in the mud, everything is literally the same color. The other problem is whenever someone goes to take a picture of me and my glasses are so dark that I have to take them off. Result, me squinting all the bright light out! Yeah, it's time for a change.
 This is what that mountain really looks like - in fact a little brighter. The one taken through my lens is how deceptive sunglasses can be when trying to get a cool picture. I ended up hiking part of the way WITHOUT my glasses on and WOW! The grass was SO green! The sage WAS beautiful! And the mud WASN'T black! It was still super blurry, but I could see the COLOR!
 Since it was the first hike of the season, I didn't go the entire way. Neither did my dad or my sister. So, we waited here until my mom and brothers decided to turn around and pick us up on the way.

 All that orange are Dogwood Trees.

Another, more defined deer track.

Fuzzy Pony Updates

I finished with his body hair at the beginning of the week. Now onto his mane and tail...oh, yeah, and his ears!


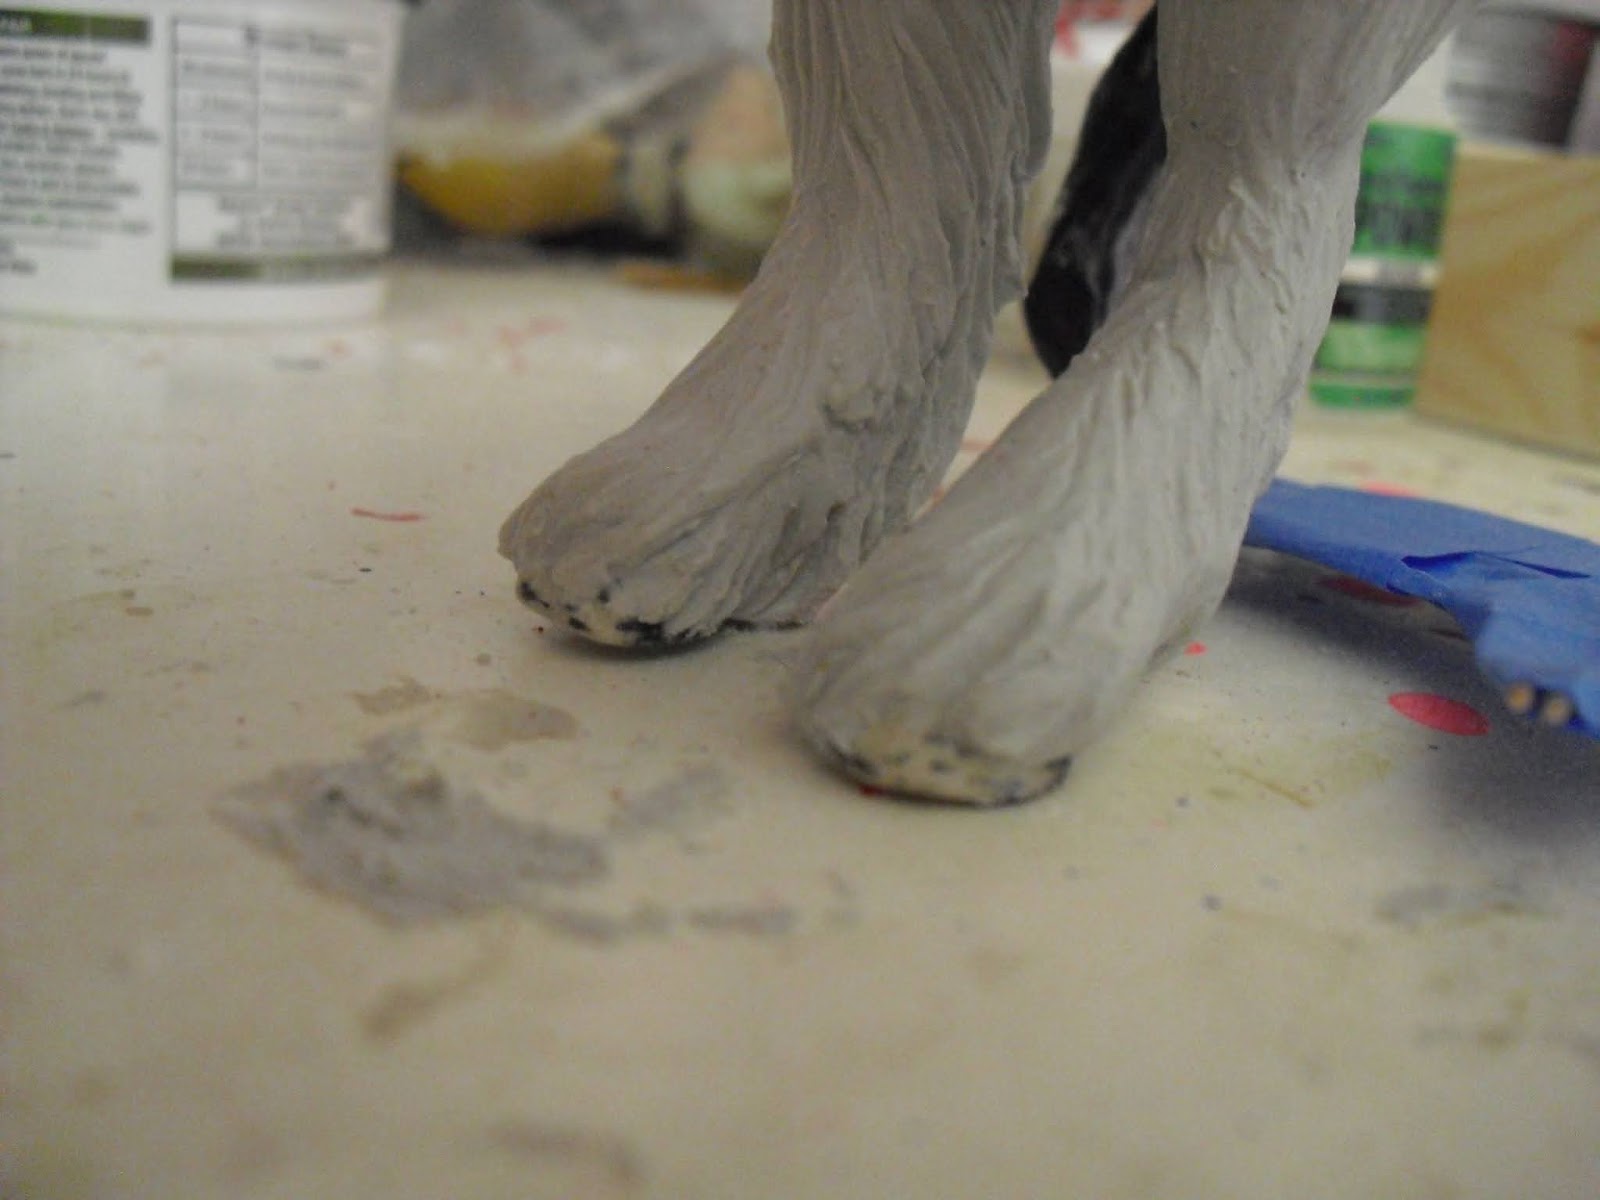
 The tail took some planning because the hooves ended up standing on the heels while being propped by the original tail. So, I elevated the frame and applied Apoxie (and sanded some) to the bottom to create a more stable base.
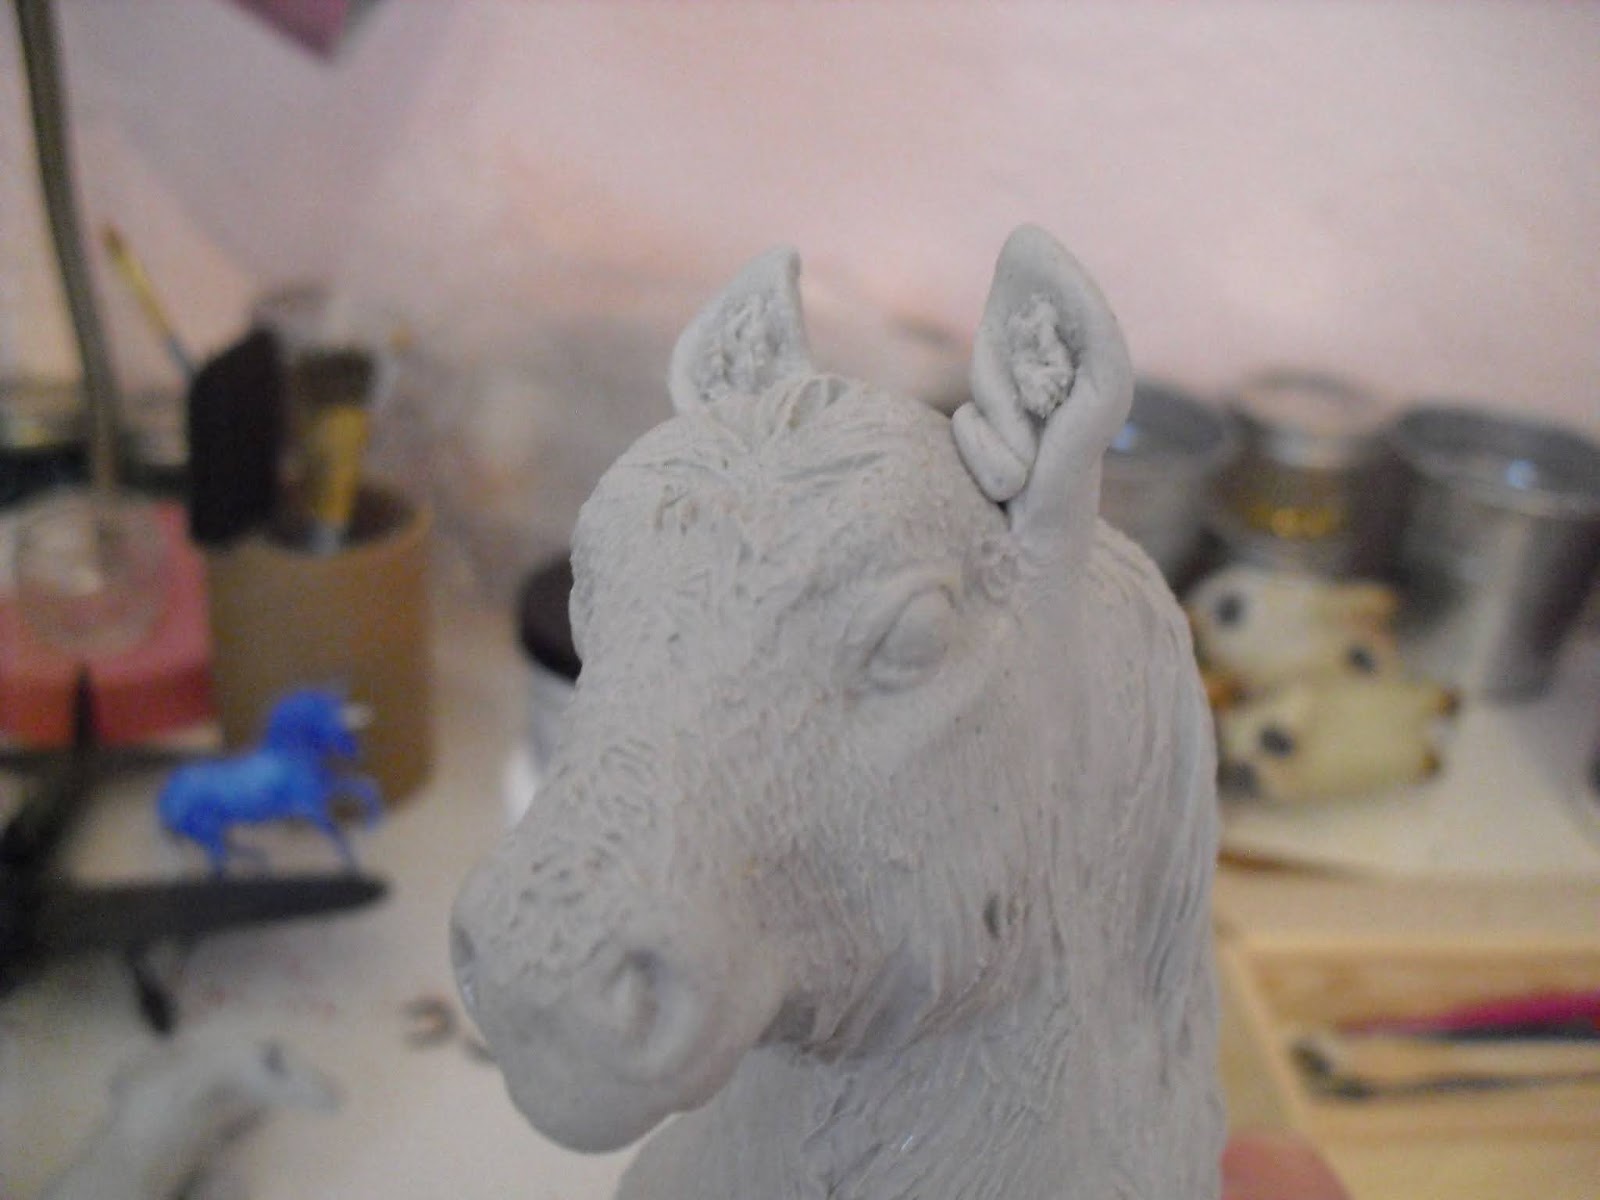
 I always seem to forget the ears in all the excitement of applying the mane and tail. I also forget to add the other muscle piece that separates the ear from head (un-smoothed-out ball of Apoxie on the inside side of the left ear).

 Mane, tail, and ears done.
 ...And the skirt.... Horses and ponies in their winter coats always have some kind of skirt in the lower belly.


 All ready for Primer (and sealant for the other two).

 This actually was on Friday. It was sunny and hot....maybe too hot to spray some model horses....and a little muggy. Who knew it would be thunder an' lightning an' rain an' hail for the next two days! That's the Great Basin weather for ya.
Thankfully, I WAS able to get the primering done (as well as a few other outdoor model horse related things), so that I could get started on painting him!!!

He's not done yet - I hope I get him done this week! Stay tuned in for more updates.

Wednesday, June 3, 2020

Pony Pouches for Better Storage

Back in September for Sugarfoot Live, I had dug out some of my oldest toy horses who are apart of my Spirit: Stallion of the Cimarron family for one of the fun classes (the extended stories were created in play and are not always apart of the original story or books). Well, they had been sitting in my bedroom since them because I didn't want to wrap them up in their shredded tissue paper (shredded by their ears and hooves) to put in their storage box in the basement. So, finally, earlier this year (I don't remember when since I am so backed up on blog post updates), I made them some official Pony Pouches of their own! And eventually, I will make more for the other horses in that storage box.

 Each has their name embroidered onto the flap.

 Sea Wings is Strider's adopted dad after he got separated from the herd before Spirit was born. He looks very happy.
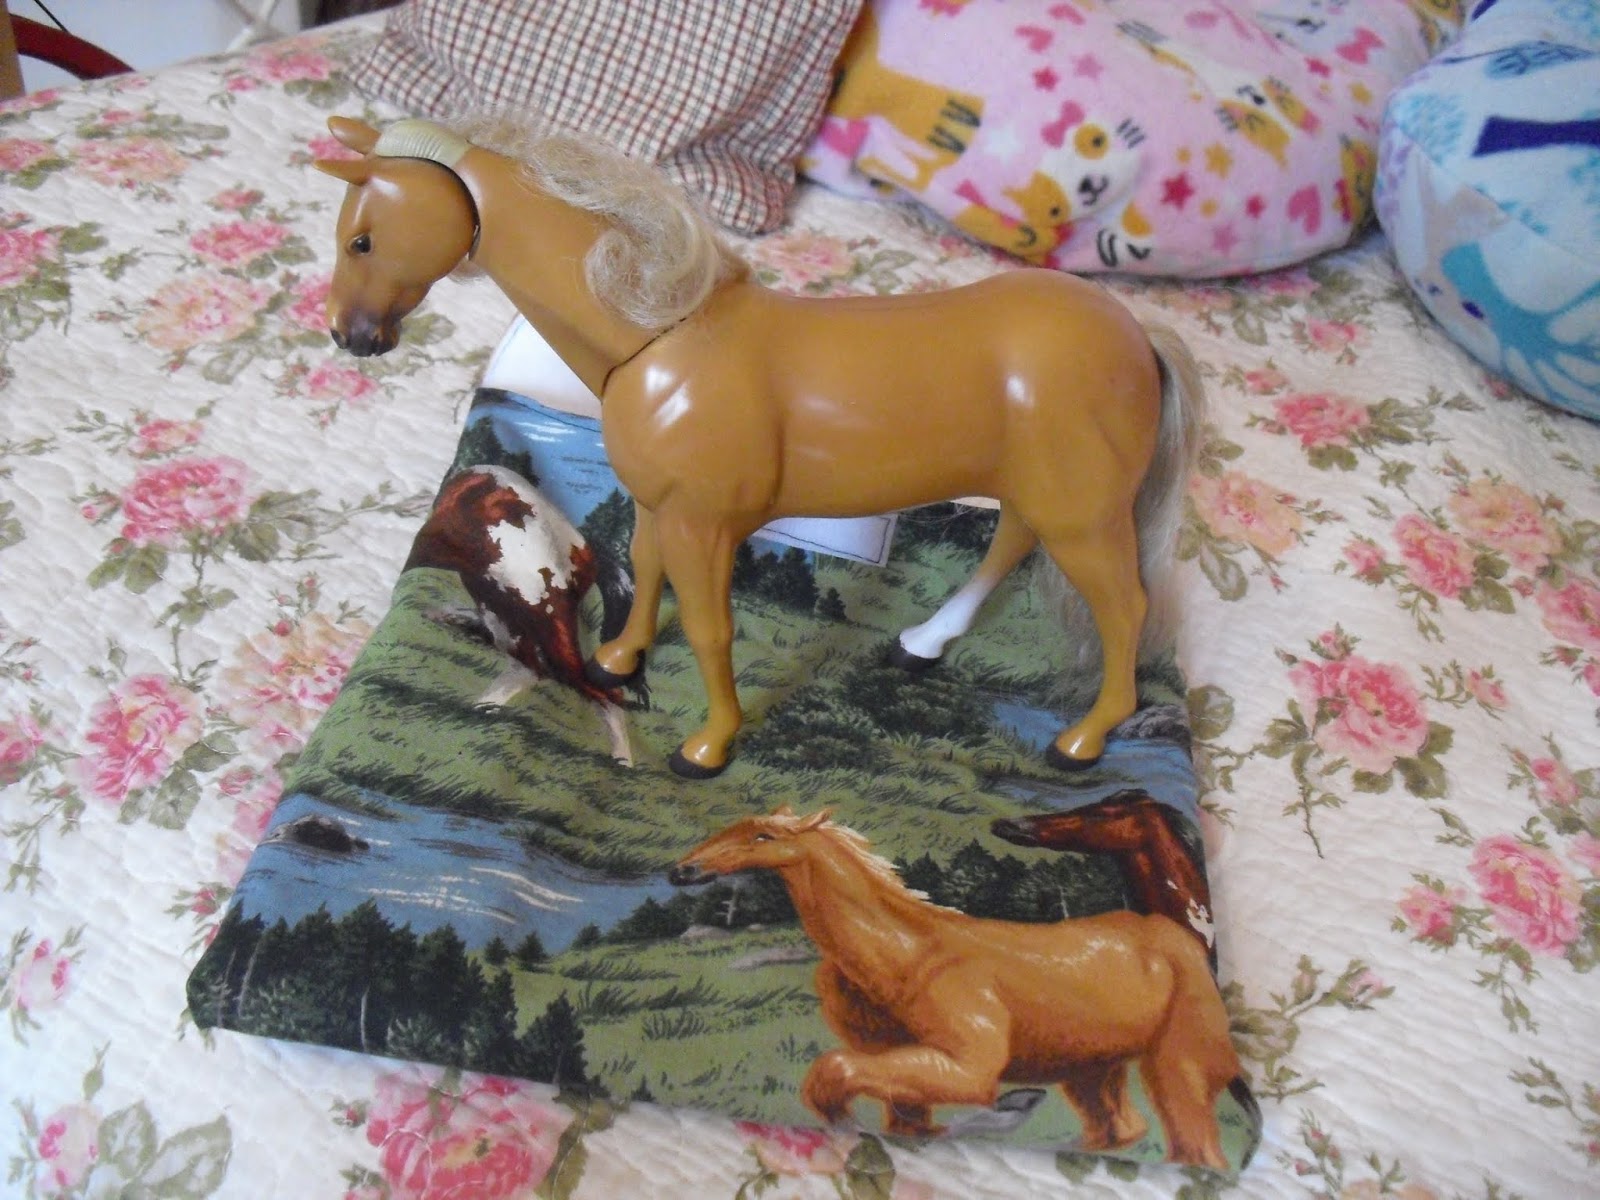
 Esperanza is Spirit's mom. I picked this fabric for her because it had a Palomino on it and she is a Palomino.
 This is how the brushable tailed horses are placed in the Pony Pouches.
 Happy Camper!

 This is Cupid. She is Sand Piper and Sea Wings's daughter and Brown Tyke's twin sister. She's a Grand Champion toy horse.
This is Sand Piper and she's a Flockie.
 That means that she needs regular cotton fabric on the inside (with the padding of the fleece) so that the fuzzy fleece doesn't leave any extra lint or get caught on her fuzzy coat. 

 And Brown Tyke. You could tell why she is Cupid's twin sister. Brown Tyke and Cupid are among my oldest toy/model horses. AND they were hand-me-downs from someone in, I think, our homeschool group (or somebody at church....I vaguely remember).
All completed and ready to be put away!

Another Fuzzy Pony

I've been itchn' to customize another fuzzy Shetland Pony all year. And then, Breyerfest went online and people who, like me, can't get over to Kentucky due to a real life reason, can actually attend,....and oh! Let's do a fuzzy pony to enter in something! I'll tell you "what" after Breyerfest is over. He is going to be a sales piece, though I already have a potential buyer, since she wanted one of my other fuzzy Shetland Ponies who wasn't for sale. I told her that I'd be working on more in the future.

 I had seen some customs here and there using a Classic scale body to make a Traditional scale pony. So, when I noticed that this guy (a freebie from a collector at Sugarfoot Live because he was broken) was the same size as the Breyer Traditional Shetland Pony.
 I was going to use part of his neck as a guide, but saw something else after I grinded the sides of the mane.
 This'll be the first time I'll sculpt my own neck from scratch.
 Yes, I also moved his limbs without his broken leg being fully intact. This is my reference for the pose. Pinterest is so AWESOME!!! Though, I still would like to use all of my reference books that are all packed away in the basement. They're just sitting there doing nothing.

 This stage is always more disturbing than the dremel stage. It reminds me of a story from the James Herriot books.
 Since the Apoxie doesn't adhere to the foam very well, too slick I guess; I usually use either painter's tape or cheap masking tape to create grit.
 I had grinded away part of his muzzle to re-sculpt. Unfortunately, his eyes were affected in the process, so I had to sand them down, too. His muzzle is sculpted to be making a grimace, mischievous expression to give him some character.
 Adding the nostrils. Looks like Kermit the Frog!
 I had sculpted eyes before, but not this good.
 I had obviously re-did how I constructed his neck. I originally had the foam as the structure, but after I added the Apoxie, I found that it was too big and thick that by the time I added the muscle tone and hair - his neck would be massively out of proportion! Off with the neck and on with a new one made from wire and painter's tape! Much better!
 Muscle structure done. He is now ready to start adding hair.
 I also cocked his head a little bit. He's already showing the characteristics of a stinker pony.

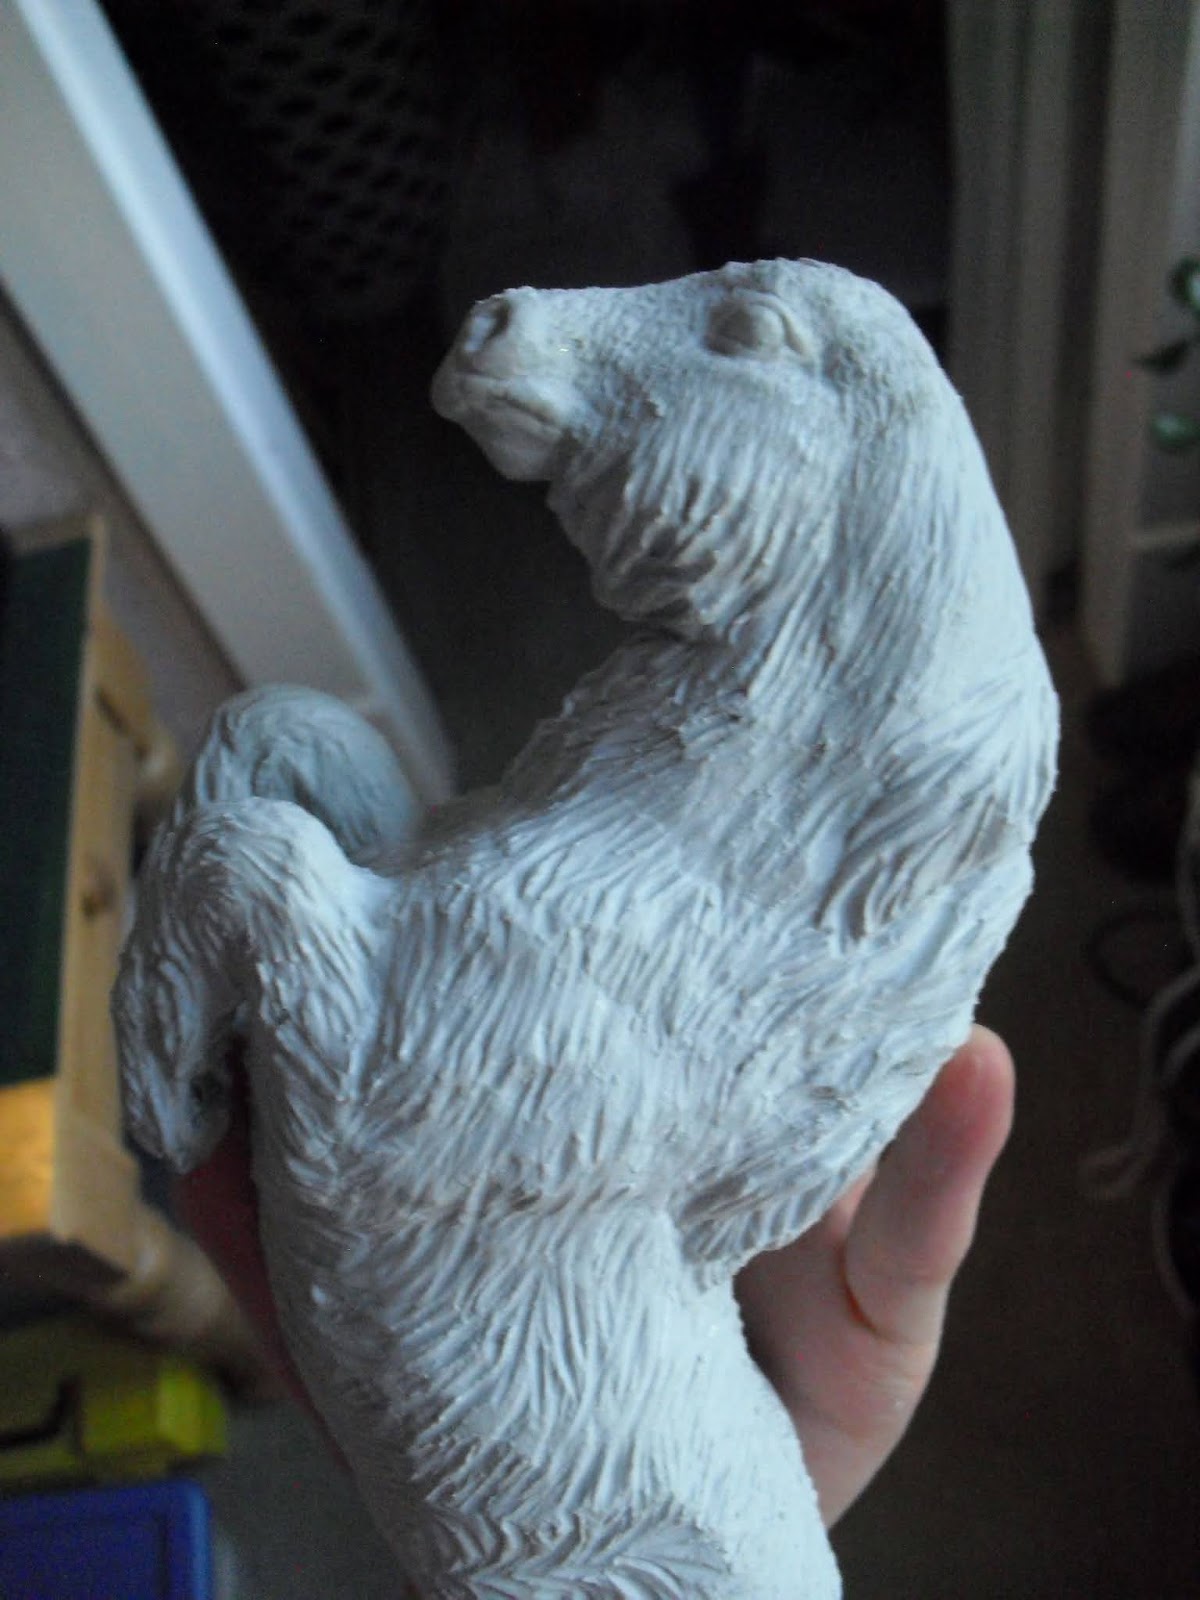
 Body hair on.
 This is truly my favorite part of customizing - sculpting hair. I've always been fascinated with hair from the artistic side since I was a little kid. I find curly hair particularly interesting to draw or paint - haven't done much sculpting yet, but I do have it on my list to do a Baskir Curly someday.
That flank cowlick whatever you call it, this time is in the right location. My past two fuzzy Shetland Ponies had theirs directly in the flank, but apparently in real life, it isn't. You learn something new everyday.

To be continued...